A science-backed, sweat-inducing, tough-as-hell workout in just four minutes? That’s Tabata for you, Mudder Nation.
Tabata workouts were created by Japanese scientist Dr. Izumi Tabata and a team of researchers from the National Institute of Fitness and Sports in Tokyo to train Olympic speed skaters in the late 1990s. Today, the training style is applied to just about any move to maximise the benefits of high intensity interval training (HIIT) in a short amount of time. And by “short” we mean less time than it takes you to scrub the mud off a single hand after a Tough Mudder. Less time than it takes to make the perfect post-event snack.
Basically, one 4-minute Tabata workout includes eight rounds of 20-seconds-on-10-seconds-off. And best of all? You can do it with cardio machines, bodyweight movements, oblique exercises… you name it.
Why Is Tabata Effective?
High intensity interval training in general is especially effective at burning fat because it requires your body to work harder to return to its resting state (you know, the state it’s in when you’re tuning into Tough Mudder Live from your couch). Quick science lesson: this phenomenon is called “excess post-exercise oxygen consumption” or “EPOC”, so you continue to burn calories (research from ACE found that EPOC can increase calorie burn by six to 15 percent) long after you’ve changed out of your sweat-drenched tee. And by long after, we mean up to 24 to 48 hours after, according to a study published in the Journal of Sports Sciences).
Need proof? According to one 2016 study published in the Journal of Strength and Conditioning Research, when guys performed sprints and other high-intensity intervals, they burned 110 and 82.5 calories in the three hours after their workouts. And another study published in the Journal of Obesity suggests that HIIT is more effective at reducing subcutaneous and abdominal fat than any other type of exercise.
The added intensity of a Tabata workout means that your body will have to work in overtime to return you to your pre-Tabata state. “Because the intensity is an all-out 100 percent effort your body goes into an aerobic-plus zone, it requires less time than other workouts to be effective and also provides a bigger afterburn,” says Tough Mudder Bootcamp Trainer, Beau Whitman, CF-L1.
How To Mix Tabata Into Your Tough Mudder Training
To get started, download a Tabata timing app, which will keep track of your time by giving you an alert when 20 seconds of work are up, and alerting you again when your 10 seconds of rest are over, too.
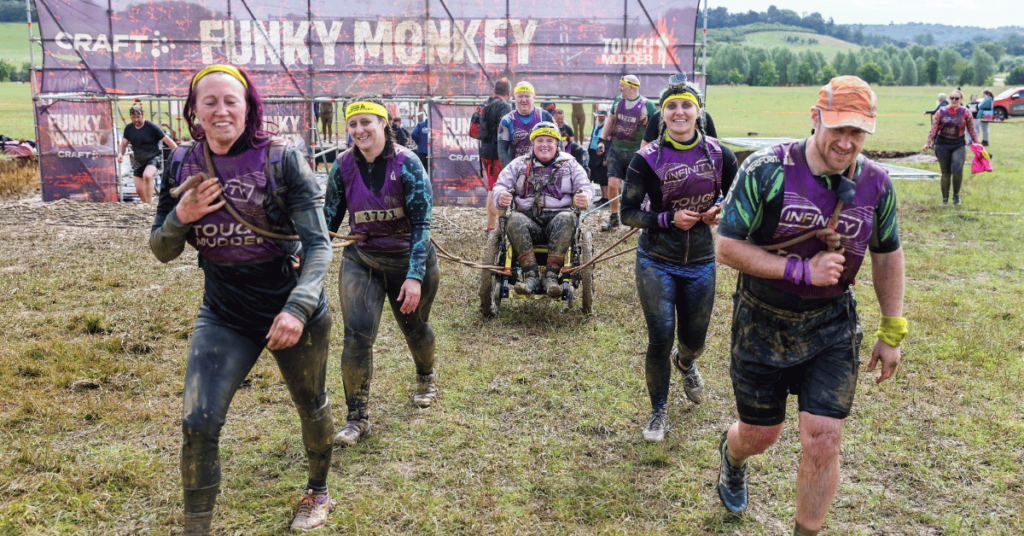
You can use whatever moves you like in a Tabata, but Whitman’s favourites are sandbag (or medicine ball thrusters), single leg deadlifts, battle rope power slams, burpees, hollow holds, high knees, and push-ups. “These full-body moves will train your body to recover more quickly, which will be beneficial on event day between obstacles,” Whitman says. Not to mention they will help build strength that will be useful for Tough Mudder obstacles like Funky Monkey and Hero Carry.
Below Whitman put together two Tabata-style workouts for you, dear Mudders. One for if you’re at the gym and have equipment on-hand. And one if you’re at home and have time for a quickie. “Twenty seconds of work might get uncomfortable, but it goes by quickly so your workout will be done before you know it,” says Whitman.
Hard? Hell, yeah. But remember, Mudder Nation, you can do anything for four minutes.
At The Gym
Instructions: Move through the four exercises below completing 20 seconds of each exercise and resting 10 seconds before moving onto the next movement. Move through this entire sequence twice.
What you’ll need: A moderate weight 10 to 20 pound sandbag, a set of battle ropes, and a moderate weight 20 to 35 pound kettlebell.
Movement #1: Sandbag thrusters
1. Starting in a standing position with your legs hips-width apart, hold onto the sandbag so that both hands are in a front racked clean position so that the bag is resting on your biceps and the backs of your arms.
2. When you’re ready to begin, sit your hips back into a squat, like you’re sitting. Make sure to keep your chest up because the weighted bag will pull you forward. Then, in a fluid motion keep your weight in your heels and use your legs to power upward while pressing the sandbag overhead. You should be standing with both arms extended overhead after pressing the weights up.
3. Bring weights down back to shoulders like in starting position, adjust feet if necessary, and then go immediately into the squat again.
Movement #2: Kettlebell Single Leg Deadlifts
1. Deadlift the kettlebell up so that you are standing straight with the kettlebell at arms length in front of your thighs.
2. Kick your left leg back so that it is off the ground slightly. Bend over so that you are hinging at the hip without bending the right knee, and lower the kettlebell to the floor while keeping it close to your body.
3. Pause at the bottom and then reverse the movement back up to the top. That’s one rep. Repeat this movement alternating sides each time.
Movement #3: Battle rope power slams
1. Stand with feet shoulder-width apart in a quarter squat. Hold one side of the rope in each hand, then lower the battle ropes down to your sides with your arms mostly extended.
2. Bend your knees slight, tighten your core, and then raise both hand overhead before forcefully slamming the ropes down at the ground, lowering into a full or quarter squat as you do.
3. Return to standing bringing your arms and rope overhead, and repeat.
Movement #4: Kettlebell Sumo Deadlift High Pull
1. Stand with your feet wider than hip-width apart, toes turned slightly outward. Squat down and hinge at hips to grab the kettlebell with both hands using an overhand grip (palms facing down).
2. Drop your hips down while keeping your knees behind your toes. Make sure your back is flat and chest up.
3. Draw yours shoulders down and back. Then, push through your feet to stand. As you stand, pull back and up through shoulders and squeezing glutes so that kettlebell lifts to midthigh, then immediately bend your arms up and wide to sides to pull weights up toward chin.
At Home
Instructions: Move through the four exercises below completing 20 seconds of each exercise and resting 10 seconds before moving onto the next movement. Move through this entire sequence twice.
What you’ll need: Some floor space.
Movement #1: Half Burpee
1. Clear at least 5 feet in front of and behind you. Stand tall with your feet hip-width apart and hands at your sides.
2. Reach forward and drop your hands to the floor. As your hands reach for the floor, sit your hips back so that your legs are bending and moving with you. Kick your feet back so that you are in a push-up position with your palm remaining pressed to the floor.
3. Then press against the ground with your palms as you push your body into a straight-arm plank.
4. Jump both feet forward, close to your your hands, so that you are in a low squat position.
5. Stand up.
Movement #2: Hollow Hold
1. Lie on your back with your arms and legs fully extended.
2. When you’re ready to begin, squeeze everything tight. Press your lower back into the ground and slightly lift your legs and upper back so that your shoulder blades are off the floor.
3. Hold this position.
4. To make it harder, practice rocking back and forth.
Movement #3: High knees
1. Place your hands out in from of you at waist height and explosively drive one leg up at a time to hit your hand.
Movement #4: Push-up
1. Start on all fours with fingers spread slightly, then step both feet back so that you are in a high plank.
2. Engage your core, keep your pelvis in neutral so that your tailbone is pointed down towards your heels. Squeeze your glutes and hamstrings.
3. Lower your body (keeping back flat and eyes focused about two feet in front of hands) until your chest grazes the floor and elbows are at 90 degree angle.
4. Keeping core engaged, exhale and push back to starting position.
Gear your training towards a Tough Mudder event this year- get your ticket early and save more.

